")


One of the hottest topics in the photography industry today is Lightroom presets. What are they? Are they worth it? Will they really help you to create images you love? Today I want to debunk common myths surrounding Lightroom presets, and help you see how they could help you in your photography business!
When you’re first diving into the world of photography and editing, let’s be honest – it’s pretty overwhelming. There are SO many new terms to learn and things to do (and not to do.) And though that may be true, please trust me when I say you CAN figure this out, and it’s actually FUN. I promise. 😉
If you’re in this place right now (stressed out + overwhelm city when it comes to editing,) I want you to take a second and breathe. Editing is so, so fun, (especially when you know what you’re doing and why!)
That’s my goal today, to show you why and how I edit my pictures using Lightroom presets, and teach you how to do it too!
Before we dive in, I’m going to walk you through a little bit of my photography background, and how I got started with editing.
How I Got Started With Editing:
I’ll be honest. My editing journey started in middle school with Picnik. Anybody remember that fun software!? ?
I used to edit ALL of my Myspace photos with it. Seriously. My hobbies included: adding random quotes I found on the internet to my pics, bumping that contrast up – you name it, I did it. The results? Less than stellar. BUT, it did teach me a little when it came to editing. Maybe. (Along with the built-in filters for Facebook, I’m sure I used those from time to time too.) #baller
In high school, I took a class that taught a little bit about Photoshop. So, for my senior pictures, I actually set up a camera and had my mom take them. Then I went home and edited them. (They’re pretty funny. Maybe I’ll share them one day. ?) But, I was able to learn a few things about what caused what to happen when I was editing photos and playing around with different filters and things.
Around 2014, I’d been debating starting a photography business. I decided to start looking for photoshop actions (which are basically filters,) that would fit the type of images I wanted to create. A Photoshop action is a pre-recorded set of tweaks/adjustments that are applied to a photo once you “play” it. So with one click, you’re able to apply a set of edits to a photo, and then go in and tweak them individually from there. Photoshop actions were what taught me the majority of my editing techniques.
Then, I had been doing some reading up on Lightroom from a photography forum, and decided since I was already paying for all of the Adobe programs, I’d give Lightroom a shot too. I played around a bit in there; but didn’t truly understand why it was better than Photoshop – until I realized how much faster I could edit in Lightroom. That was the game-changer for me. But, I really loved the actions I was currently using in Photoshop, so how could I get that same look in Lightroom?
Introducing: The Lightroom Preset
Lightroom has its own version of an “action,” and it’s referred to as a preset. Lightroom presets are basically a “pre-set” set of edits that are applied to an image once you click on it.
You can then go in and tweak that image in the develop module, (the area that gives you full access to all of the tools you’d need in order to edit.)
I found out that other photographers also sold their own presets (their way/style of editing,) just like some photographers sold their Photoshop actions – so I decided I’d experiment around with presets to see if I found some that I loved and could work off of.
Now, there’s totally an argument out there from those who say you shouldn’t buy other people’s presets, and that they’d never buy a preset; blah blah blah.
I’m just telling you, I learned by using other people’s presets; determining what I liked and didn’t like about them, and tweaking them to fit my style. Over time, I learned what every tool in Lightroom did, and then was able to efficiently create my own presets. But had I not invested in presets first, it probably would’ve taken me a lot longer to learn how to do it.
Benefits of Using A Preset:
#1: Efficiency.
- You waste SO much time editing photos one-by-one, adjusting every tiny slider to finally achieve the look you’re wanting for your photo; only to have to start over again on the next one. Presets allow you to apply a set of edits with one click, and then only make tiny adjustments from there if needed. Then, you can copy and paste the finished edit onto the next image, or sync that specific edit across all of your images. It’s a GAME-CHANGER. Work smarter, not harder – right!?
#2: Consistency.
- One of the biggest benefits of using a preset is it allows you to have consistency in your editing style and aesthetic. Since you’re applying the same style of edit to every shoot, you’ll naturally start to build a portfolio that you’re proud of, (and that looks super professional!)
#3: Confidence.
- This one’s huge. Do you love your current work? Do you love your editing style? Chances are you’re not a huge fan, and presets can seriously change the GAME when it comes to being confident in your work and the final product you’re putting out into the world.
Important things to note:
Presets are meant to be the icing on the cake, not the cake batter.
What I mean is, it’s not okay to just consistently take bad photos with hopes that a preset will mask all of your technical and foundational issues with your images. That’s not cool, and that won’t help you grow as a photographer in the long run.
It is VITAL to learn to take good images straight out of the camera – and then enhance them through editing. I can’t stress this enough. If I didn’t know how to take images that were near perfect in camera, then they wouldn’t be half of what they are with an edit. (And I wouldn’t be producing my best quality of work.)
I firmly believe that the majority of your images should be able to stand alone without an edit- before an edit is ever applied.
Now, that doesn’t mean that here and there you won’t mess up and accidentally get the exposure wrong or notice that something was off after the shoot that you should’ve fixed. Sometimes that happens, and if you’re shooting in raw it’s an easy fix, (most of the time.)
I’m just saying I don’t want you to forever use presets as a crutch or a mask to cover up bad images.
SO many times I’ll see photographers posting photos that are totally out of focus (meaning they didn’t get the focus right in the camera.) Then they just slap a preset on it and edit it, then share it – and meanwhile they’re charging people for that work. That totally rubs me wrong, and I’m so not for that!
All of the images you’re delivering to clients should be in focus (unless it was a specific stylist choice not to.) If you’re struggling with that, I STRONGLY URGE YOU to focus on your foundational techniques as a photographer before you start charging people to work with you! But that’s another convo for another day!
Presets will work better on RAW photos than JPG photos.)
Why? Because RAW images contain all of the data from the image, and keeps it all separate; so you can hop into it and edit individual things.
Want to only change the hue and saturation of the green grass in your image? No problem, with a RAW image you can! Need to do it in a JPEG? Good luck!
JPEGS are much more difficult to edit creatively. Why? Because all of the settings from when the image was shot are compressed. Therefore, you can’t get in and edit individual things or push the limits too far without the image starting to look weird. (I’m using really basic terms so this makes the most sense!)
You can totally google “raw vs jpeg” and there are tons of articles about why raw is a better choice. If you’re not sure how to shoot in raw, or if your camera can even do it; just google “how to shoot in raw on a (insert camera model here,) and you’ll find a plethora of info on how to make the switch!
Only shooting with an iPhone? The Lightroom mobile app will actually allow you to take photos in raw! If you’ll take your photos from inside the Lightroom app (not the native camera on your iPhone,) and make sure the button at the top of the camera is on DNG, you’re good to go to shoot raw photos with it! Make the switch. You’ll be glad ya did, I promise! 😉
Okay, so by now you’re familiar with what presets are, why they’re useful, and how you can benefit from using them. Ready to dive deep into actually working with them to create better work?
Using Lightroom presets – An Introduction:
There are hundreds of thousands of options when it comes to preset combinations. Just one small tweak of one of the many sliders in the develop module in Lightroom can completely change an images look. And that’s a good thing! Because that means presets are also super customizable. (And they should be – because every single image is different.)
So many factors go into an image: the lighting, the location, the time of day, the colors in the background, the outfit on the model, the direction the sun is coming in the frame, (you get the point.)
Because of that, presets aren’t supposed to be one click. (Very few times they may be, because the preset may have been built on an image that had very similar settings to the image you’re applying it to, but it’s usually a rare case!) So don’t be surprised if you invest in presets and they’re not one click. It doesn’t mean that you didn’t purchase good presets. It just means you need to learn how to tweak them to fit your style!
However, most photographers that sell Lightroom presets only sell the presets themselves; they don’t show you how to use them and tweak them to make them work for you. The education that (should) come with presets is severely lacking.
That’s why I created the Mina Marlena Preset Masterclass; which includes 6 desktop Lightroom presets, 6 mobile presets, 2 in-depth guides on how to take and edit better photos, and 4 video tutorials showing you how I edit with them and what to tweak!
I’m SUPER determined to truly teach people how to improve in their craft, whether it’s shooting or editing; because I want you to actually grow all around! (I could chat on and on about my heart for photographers and helping people create work they’re proud of, but we’d be here all day!)
Using Lightroom Presets: Pt. I
Let’s look at a breakdown of the process of using a preset. Say you just purchased my (or someone else’s) presets! Now what? After you’ve downloaded them, be sure to read the installation guide that (should) come with your presets. It will contain important info about how to install them! (If you purchase mine, there’s a .jpg file that states the installation info in the download, and the installation process is also included in Guide #1!)
After you’ve installed your Lightroom presets, you’re well on your way to editing like a pro. (Well, kinda.) There are a few things we want to be mindful of, and some things you need to decide for yourself!
Here are some things I’m ALWAYS keeping in mind while I’m editing:
-
Skin tones
-
- Skin tones are single-handedly the most important part of editing for me. Everyone has their own creative preference when it comes to their photography. But, skin tones are always the priority in my images! In short, I shoot and edit for skin. That just means I’m always being conscious while I’m shooting and setting up my settings in camera on a shoot to make sure I’m helping, not hurting, the skin tones in my photos.
-
- Have you ever looked at a photo and noticed something just looked majorly off with how the subject appeared; primarily with their skin coloring? Maybe they looked really green-tinted, or maybe they were super orange. Or maybe their skin looked dark, muddy, and desaturated (i.e. they looked sick.) These are things I make sure to NEVER do in my photos, and you shouldn’t either! You’ll honestly be way ahead of the game if this is the only thing you learn today. ??
-
Contrast
- Now, another thing we want to be mindful of is contrast. Oftentimes, I see people adding contrast to their images using the contrast tool, which actually isn’t always the best way to add that “pop” to your images, in my opinion! Reason being, contrast is harsh on the skin, and usually brings in some funky colors you don’t want in your image.
-
- A better way to add that “pop” you’re looking for to your images, is to try using the lights and darks below the tone curve, or the shadows and blacks in the develop module! Move these tools up and down to see the effect they have on your image!
Honestly, there are SO many things I could teach about editing, but this blog post would literally be a novel. ?
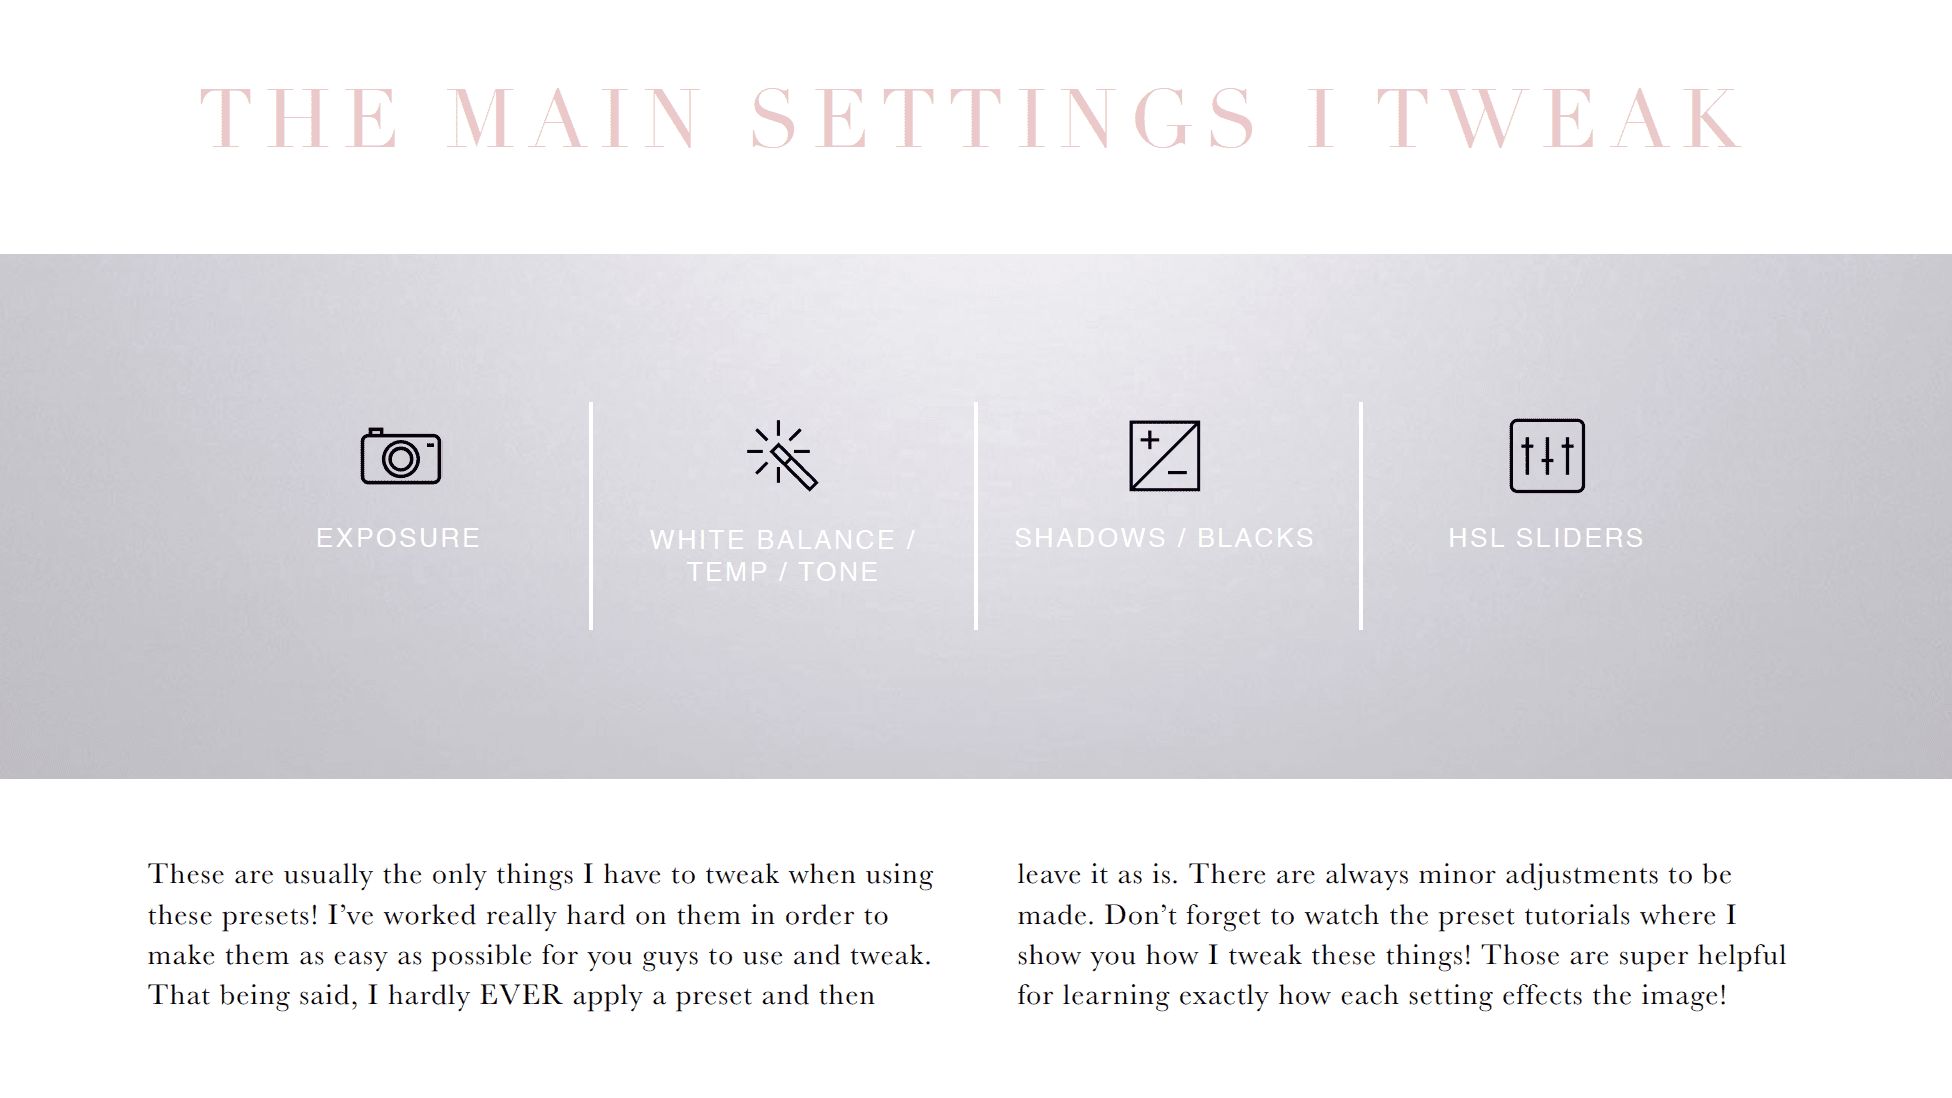
So, here’s a quick rundown of the things I’m usually always tweaking whenever I’m working with a preset!
(This is a sneak peek of one of the guides that come with the Mina Marlena Preset Masterclass!)
Troubleshooting Tips for Lightroom Presets:
What to do if…
- Skin tones are too orange once you apply a preset
-
-
- Go to the HSL sliders in Lightroom (under mix in Lightroom mobile) and reduce the saturation of the orange color slider
-
-
-
-
- You can also try reducing the overall warmth of the photo in the temperature section if it’s super warm! (For LR Mobile: Temperature is the first slider under “color” that changes from blue to yellow as it moves from left to right! For Desktop, it’s the first slider in the develop module, and looks the same as the slider in Lightroom mobile!)
-
-
- The image is too dark
-
-
- Increase exposure! You can also increase the shadows or blacks if it needs a little fine-tuning.
-
- Skin tones look green-tinted
-
-
- Move the tint from the green hue to the magenta hue. (Vice versa if your skin tones are too magenta/pink!)
-
- The image has too much contrast, or looks too “heavily edited”
-
-
- Reduce the contrast. If that’s not enough, try lifting the shadows and the blacks.
-
- You want the grass to be less neon green/vibrant
-
-
- Go to the HSL sliders and reduce the saturation of the green. If that doesn’t make a big difference, go to the yellow in the HSL sliders and reduce the saturation of the yellows! Grass registers as yellow SUPER often!
-
- Your image is super hazy because of the sun flare/sun shooting directly into your lens
-
-
- Use the “dehaze” tool in Lightroom, and also try lowering the blacks! Both of those tools work wonders!
-
- Your image has a weird lens distortion (fish-eye effect,) on your image
-
-
- Enable “profile corrections” in the Lens Corrections section of the Develop module
-
How To Create Your Own Preset (Desktop):
So you’ve nailed down a look you love, and you want to save it as a preset so you can easily apply it to your photos. No problem, here’s how you do that!
Once you’ve got the settings where you want them for your preset, navigate to the left side of the screen in Lightroom where you see the word “Presets.” Click the ( + ) sign and then click “create new preset.” Give your preset a name and create a new group (basically a folder for it.)
There are a few things I recommend not syncing to your preset (in the window with the checkboxes.) I would uncheck the box that says “white balance” and the box that says “exposure.” If you’re going to be editing iPhone photos with this preset as well, then I’d make sure the box that says “lens corrections” is unchecked too!
Now you’re all set. Have fun with your new preset! ?
How To Create Your Own Preset (Mobile):
To create a preset in Lightroom mobile, (once you have your settings the way you want them) – you’ll click the button at the top right. (It has three dots on it!) Then, scroll down until you see the words “create preset”. Give your preset a name, uncheck what you need to, and then you’re good to go!
I hope these tips are SO helpful for you! Have any other preset q’s? Totally leave them in the comments and I’ll serve ya up with my best editing tips! ?
Want to next-level your photos with the Mina Marlena Preset Masterclass? All of the info is waiting and ready for ya to put to work on your images! ??
Wanna stick around and stay learnin’? I knew I liked ya. ?
Feel free to binge on these blog posts, or pin ’em on Pinterest for later! ??
If you’re short on time, follow me on Pinterest – and you’ll get these kinda tips delivered straight to your feed! You know… when you’re scrollin’ through Pinterest with coffee in hand, ready to take on the day… or, procrastinate.
Whatevs. Pinterest biz sesh, anybody!? ??


September 14th, 2020 at 5:23 am
Useful Information ! I m new in Lightroom Its really helpful for me. I also use a tool such as Stellar Photo Repair which help to repair a image corrupt files. Thanks!
April 29th, 2021 at 6:52 pm
[…] also have a blog post on how to edit with lightroom presets like a pro, so definitely check that out if you want more info on using them, and how they can optimize your […]