")


Today, we’re chatting all about editing photos on Lightroom mobile. I know how overwhelming editing photos can be because there’s seriously SO much to it, (and you’re probably also lowkey stressing if you’re even doing it right,) but – I’m hoping to simplify the process for you today!
GETTING STARTED:
- Download the app on your phone called “Lightroom,” it has a dark blue and light blue logo! Once you’ve downloaded the app and created an account (it’s free,) you’ll be ready to import photos and start editing. You can either take photos with your native iPhone camera, or you can take photos through the Lightroom app. I recommend taking them through the Lightroom app, because you can actually take a raw photo that way! Let me elaborate on that a bit, because I’m sure that’s a foreign term to you!
RAW VS. JPEG:
A raw photo is a photo in which all of the internal camera settings haven’t been compressed into the image, and because they haven’t, it gives you much greater creative control over all of the settings inside the image.
A JPEG would be the compressed version, meaning you can’t get inside that type of file and tweak it the same way you’d be able to tweak a raw one. You could also think of it like a .zip file on your computer. If you have a zipped Photoshop file for instance, you aren’t able to go inside of it and tweak the image, changing the colors and adding filters. But if you have an unzipped, working version of a Photoshop file (a .psd) then you can!
When you’re in the Lightroom app and want to take a photo, click the blue camera button at the bottom right of your screen. That will launch the camera portion of the lightroom app, and then at the top of your screen you should see the letters “DNG.” If you click them, you will see the option to alternate between DNG and JPG format, (but we want to keep it on DNG because this means it’s a RAW file format, so we get all of that creative control I was talking about.)
You can either take your own photo, or import one from your camera roll! If you take one now, you’ll just have a bit more control when editing as it will be a raw one, and one from your camera roll will be a JPG – but totally feel free to do either!
Now, I understand you may not already have presets on your phone, and that’s totally okay! I’m just going to get you started with learning how to edit and use the lightroom app, so that when you’re ready to purchase a preset, (or create your own) you’ll feel a bit more comfortable maneuvering around inside of the app. When you do have your presets installed and loaded into lightroom, you’ll be able to access them under the presets area (if you hold your finger over the icons at the bottom of the screen and scroll to the far right you’ll see it,) but for now, we’re just going to focus on using the different features already located inside the Lightroom app!
Once you’ve selected a photo to edit, you’ll see buttons at the bottom for all the different tools accessible in the Lightroom app. Your photo doesn’t have any edits applied to it yet, so it’s probably rather dull and lifeless at the moment! But, we can quickly change that using these tools at the bottom.
THREE TOOLS I USE MOST:
There are three different categories of tools I use the most, the one that says “Light” with the sun icon, the one that says “Color” with the Temperature icon, and one that’s located inside of the “Color” one that says Mix with a circular rainbow icon. Inside each of these buttons is where you’ll make adjustments that start to make your images POP.
- Light
Once you click on the button that says Light, you’ll see multiple sliders, (and even more if you scroll down!) In order, you’ll see exposure, contrast, highlights, shadows, whites, and blacks.
Exposure changes how bright or dark the image is overall. I’m usually always bumping this up to around 0.25 or 0.50 (which in photography terms would be either a quarter or a half of a stop, but I won’t get too technical today!)
As far as contrast goes, I personally choose to add contrast to a photo not by using the contrast slider, but by lowering the shadows and the blacks and bumping up the highlights and the whites. I do this because sometimes when you go to add contrast using the contrast slider, it can add in some funky hues to your image, especially to skin tones – and we don’t want that!
- Color
I’m always adjusting the temperature, which determines how warm or cool the photo is. It totally depends on the photo whether I want it warmer or cooler, so there isn’t ever a set number I’m putting it on here. I just use my eye to judge it!
Next is the tint, which determines how strong the magenta or green tones are in the image. Again, it’s totally dependent on the photo and the light it was taken in.
However, if you’ll adjust the sliders to the far right and the far left (I recommend doing this for both the temperature and the tint), you’ll see what exactly they’re affecting, and you’ll be able to find a spot that looks right to you for the image!
I’m not usually ever adjusting the vibrance or saturation, unless I’m pulling it back. I’m NEVER adding to it, but again – that’s just a personal preference. Go ahead and move these around to see what they do, so you can decide what looks right for you!
- Mix:
The mix area on Lightroom mobile is where your HSL sliders lie, (HSL stands for hue, saturation and luminance.) By adjusting these sliders, we can edit just one color in an image, without affecting the image overall.
If you’re working inside of your own Lightroom right now, go ahead and choose one of the colors (just make sure the color you choose is actually present in your photo,) and then move each slider around to see what it does! (If you choose purple but there isn’t any purple in your image, then you won’t be able to see what it’s actually doing.)
A prime example of when I use this feature is to adjust the greens in my images. If you’ve seen any of my work, you’ll notice the greens look a little different than in real life. Not by a ton, but just by a bit. I’m personally drawn to a slightly desaturated green, and I shift the hue towards the aqua. Green grass (or trees) often also register in Lightroom as yellow, so I also have to go and desaturate the yellows and push the luminance up on those!
- Keep in mind if you’re applying a preset, (which we’ll get to in a minute,) you’ll want to apply the preset first and then make all of these adjustments, otherwise the preset will override everything you just did!
A NOTE ABOUT PRESETS:
Presets are just that, a pre-set set of settings. They apply all of the settings that the creator (whether that’s you, or someone else,) made to the image.
That being said, presets are almost never a one-size fits all kinda thing.
They almost always have to be adjusted, because every photo is different, and is shot in a different environment. Therefore, every photo requires a different level of tweaking. But the benefit to them, is that they help you to develop a consistent feel to your images and your portfolio, (or even just your instagram feed!)
Let’s use greens for an example. I have a photo I’ve taken in the woods in Texas, a photo from the beaches in Hawaii and another from the jungles in Japan. By using presets, I’m able to make sure that the greens in each of these different environments all match, which helps them to look good beside each other in my portfolio! Had I not tweaked them to match, they wouldn’t look as good being shared together on my instagram feed!
CREATING YOUR OWN PRESET:
You can actually create your own presets in the Lightroom mobile app. After you get done making all of your edits to your photo, just click the three dots at the top right of the screen, and then click “create preset.” You can title it and create a group for it, and also click which adjustments you want to be included in the preset.
Once you’ve created your own preset, it’ll show up under the presets button that’s located in the tools at the bottom, to the far right. You could also purchase presets, and then follow the installation instructions that should be included with the purchase – and you’ll be able to place them there beside your own presets in the LR mobile app as well!
In full transparency, there will definitely be a difference between the presets that you create for yourself, and ones that you purchase from a photographer (or someone who really knows how to edit and alter photos.)
In order to create the look you may be drawn to, it takes more than just the edits we chatted about today, because we’d need to go deep into color theory and the RGB curves, and that would take me a long time to walk through with you! But that’s the plus side to purchasing presets and then tweaking those, is that they do it all for you, and then you just have to learn how to tweak their preset!
COPYING & PASTING: A LIFE-SAVING TRICK
The copy & paste feature in Lightroom is an absolutely game-changer. Let’s say you have multiple photos that were all taken back to back or taken in the same area. With the copy and paste feature, you’ll be able to copy the adjustments and edits that you made to one image and paste them to the next.
You can do so by clicking the button at the top right with the three dots, click “copy settings” and then swipe over to your next image, click the same three dots, and hit “paste settings.”
Once you’re ready to get your images out of lightroom mobile and into your camera roll, you’ll click the arrow at the top that’s pointing up, and then click “save to camera roll.” You can choose which size, either small or maximum available, and then it’ll save into your camera roll – easy peasy!
ADDITIONAL TOOLS + RESOURCES:
- Plann: an awesome app to plan out your instagram feed, and make sure images look good beside each other before posting!
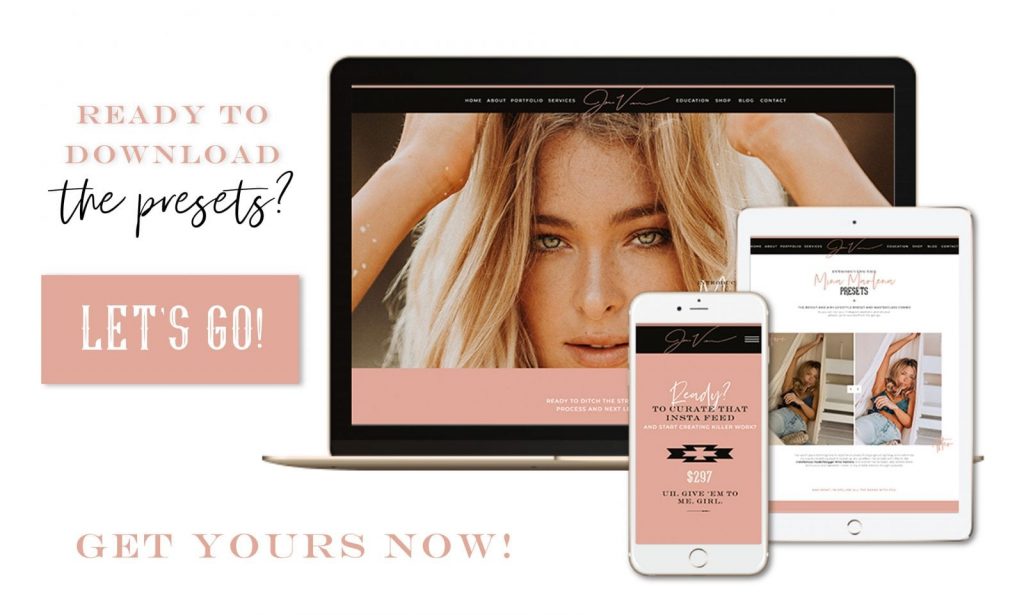
- Mina Marlena Preset Masterclass by Jessica Vickers
Looking for more helpful photography tips? Feel free to binge on these blog posts, or pin ’em on Pinterest for later! ??
If you’re short on time, follow me on Pinterest – and you’ll get these kinda tips delivered straight to your feed! You know… when you’re scrollin’ through Pinterest with coffee in hand, ready to take on the day… or, procrastinate.
Whatevs. Pinterest biz sesh, anybody!? ??


Read the Comments +