")
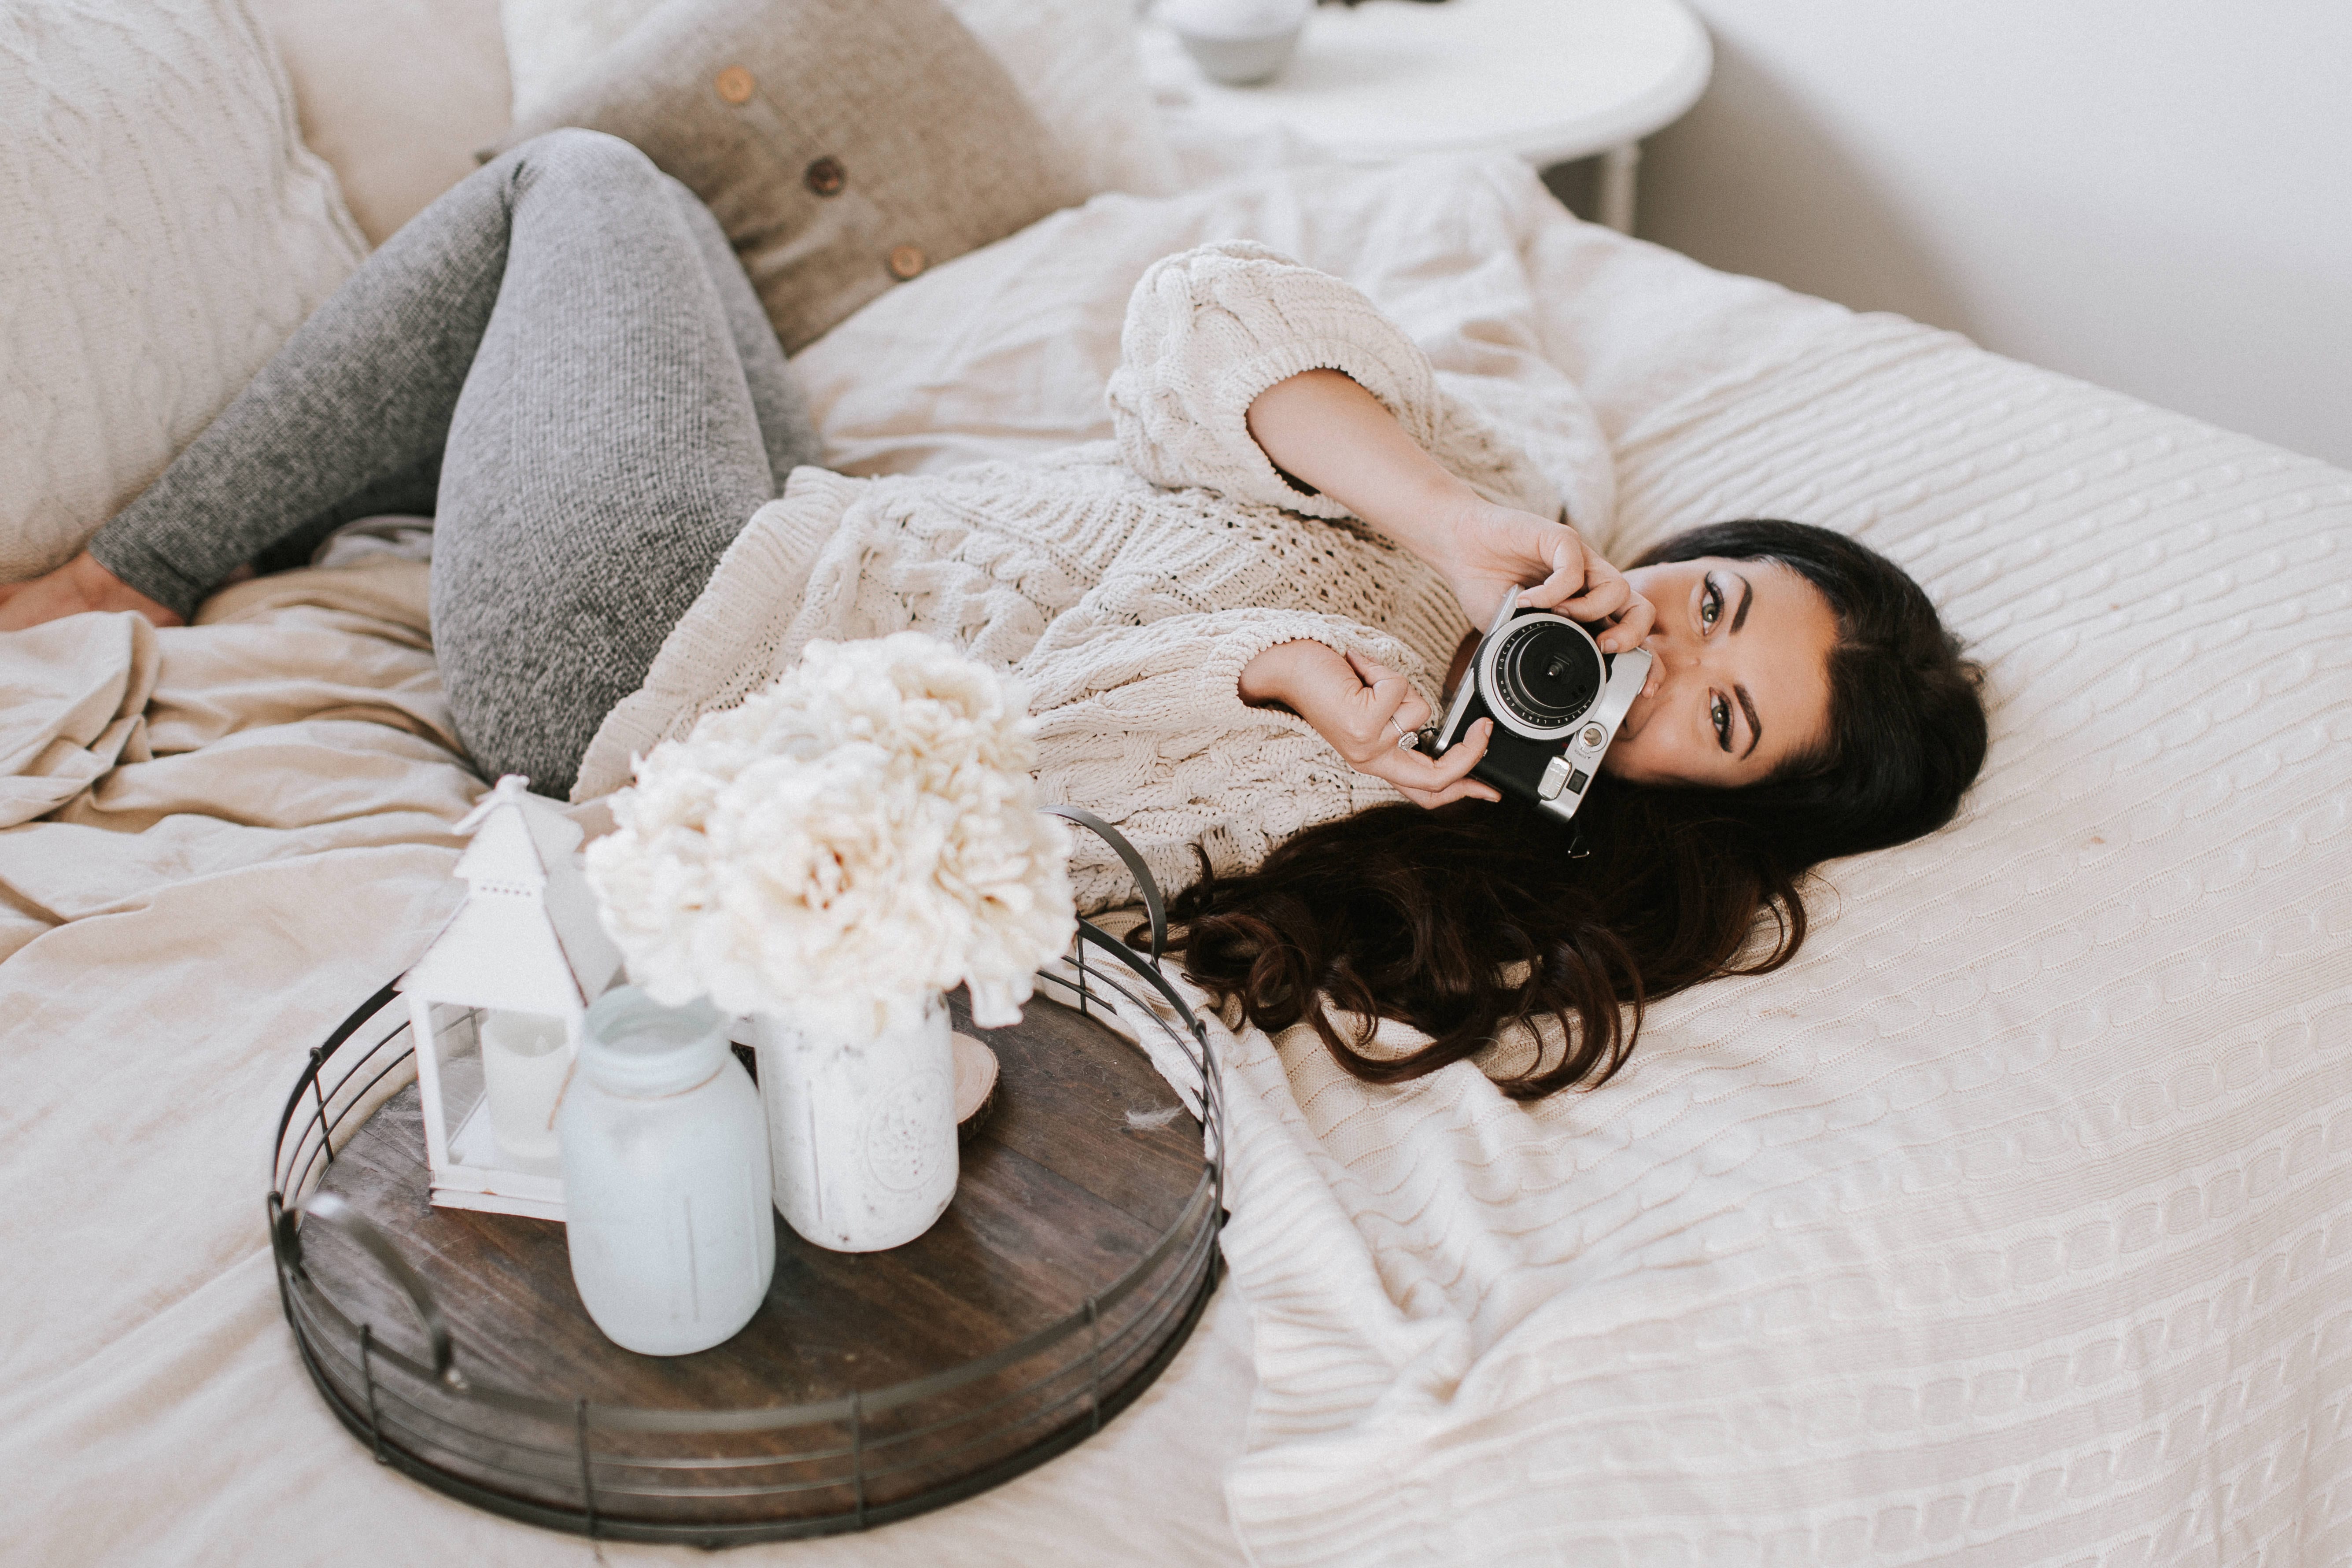


When I started in photography, I was SO determined to take beautiful photos. And to be able to create them consistently? That was a DREAM! But like clockwork, I’d get really discouraged whenever I’d have a shoot and the images wouldn’t turn out the way I’d hoped. Either I didn’t position my client in a place or location that was best for the photo, or maybe I just wasn’t being as mindful as I’d wished I’d have been, (because I was too nervous during the actual shoot.) Over time, I learned the top five things that truly made a difference between me producing “okay” images, vs. great ones. If you implement these tips, I promise you’ll improve your images by the weekend.
Regardless of why your images aren’t turning out the way you hope, there’s always the opportunity to improve, to grow, and to learn; no matter where you’re at in your business. The following tips are primarily for beginner to intermediate photographers, but be sure to read through just in case you happen to be doing, or not doing, any of the following!
1. Be mindful of the background.
You want to be really intentional about the locations you’re shooting in. They have the power to make or break a shot.
One of the biggest mistakes I see photographers making, is they’ll place their subject in a location that isn’t adding value to the shot. A prime example of this is when there are sticks/trees/signs behind the subject(s). The objects will appear as if they’re coming out of the subject’s head. We really want to be mindful of that, because that’s one of the things that separates “okay” images, from “great” images!
However, sometimes you’re limited with where you can shoot. (Maybe the client is determined to get a shot in that specific spot, because it’s sentimental.) Therefore, you have to come up with a way to do it, and do it well.
My number one backup plan in these situations is to open up my aperture! If I can’t change locations, I’ll shoot at a higher aperture to blur out what’s distracting in the background. I’ll also be sure to create more space between my subject and the background, in order to create more depth and blur out what’s distracting. I can’t stress the importance of doing this enough!
It’s common that I’ll see an image where the subject is pressed right up against a treeline. So then, they have their subject completely in focus, but the treeline (which is full of distracting trees, bushes, and dead sticks everywhere,) is just as in focus as the subject. When that’s the case, there’s just way too much going on in the image. (And Nothing should be taking away from your subjects like that!)
When possible, always move your subjects onto a clean, clutter-free type of background. Just simply doing this will improve your images immediately!
2. Light first, location second.
Plan your sessions based on the light first, and the location second.
Some people think that a stellar location will make a photo, but to be honest, it’s ALL about the light. I’d choose a less than stellar location with good light, over a killer location with sucky light anyday.
Our cameras take and read photos based off of light. If you don’t have good light, but continue to shoot anyways, your photos won’t’ turn out to be even half of what they could be if you were shooting in great light!
It’s common for photographers to recommend shooting in golden hour, (which is my personal favorite.) Golden hour takes place an hour and a half after sunrise, and an hour and a half before sunset. I typically try and schedule 99% of my sessions for golden hour in the evening, because it produces my favorite warm, golden-y light!
However, if I’m shooting fashion/brand work, I usually want to shoot earlier in the day for brighter, cleaner, cooler light. (But, that’s just a personal preference!)
3. Straighten ’em up.
You always want to be paying attention to horizon lines.
This is HUGE. (It’s actually painful for me to look at a finished photo with a crooked horizon line!) It’s such a simple fix; and when left undone, makes an image so much less appealing to the eye than it could be. If there was one thing I could recommend that would improve your images immediately, it’s this.
4. Pose ’em right.
As a photographer, it’s our job to make sure our clients look their very best.
It’s not unusual for me to see a photographer complaining inside of a Facebook group about how their clients were unsatisfied with their images, and when they post the images; I completely understand why.
Now, I totally agree that it’s not our job to photoshop people to look a way in which they truly didn’t, BUT there are absolutely ways that you can position your clients to look their best, and show off their most flattering angles.
My posing workflow is much different for someone who is long and lean vs. someone who is heavier set. For example, models and women in fashion typically like to be shot from a lower angle rather than from straight on or at higher angles. Reason being, it elongates them and makes them appear taller and leaner than they are in real life! However, I personally detest being shot from a lower angle, because it makes me appear heavier than I really am! Everyone is different, just like every “body” is different; and it’s our job to identify what poses would best represent our clients, and then pose them in a way that we know will flatter them!
General rules of thumb:
- Don’t shoot clients from a lower angle than their eye level. It’s typically most flattering to photograph clients from either eye-level or slightly above.
- If a client has a fuller face, and an undefined jawline (i.e. it’s likely a double-chin is present (LOL ME,) then it’s not usually a good idea to get side profile shots of them without something covering the under chin area. I personally hate my side profile, and stray away from ever being photographed directly from the side. However, if I have to, I’ll stick my chin out like a literal turtle and tilt it sideways in order to make it look like I have a jawline. #noshame #yesitworks)
5. Style ’em.
When I first started, I didn’t put a ton of time or energy into educating my clients on what to wear before their session.
That is, until I had a family show up to a session dressed in I have no idea what. It immediately demotivated me to edit or share the images, because the outfits were the only thing I could focus on. ?
From that point forward, I made sure that I had a system for educating my clients, and even helping them choose outfits for their sessions! In order to do this, just send out a what to wear guide to your clients. You can also let them text you photos of different outfits they have, or even offer to help them shop if they’re determined to get something new! Doing this will improve your images tenfold, I promise. 😉
If you need help building, growing, and/or systemizing your photography business, totally reach out and book a free strategy call with me. Helping you flourish is what I do best. 😉

If ya liked this little gem, you’ll LOVE this guide on how to create a photography business with zero competition. (Cause that’s what we all want, right!?)
Wanna stick around and stay learnin’? I knew I liked ya. ?
Feel free to binge on these blog posts, or pin ’em on Pinterest for later! ??
If you’re short on time, follow me on Pinterest – and you’ll get these kinda tips delivered straight to your feed! You know… when you’re scrollin’ through Pinterest with coffee in hand, ready to take on the day… or, procrastinate.
Whatevs. Pinterest biz sesh, anybody!? ??


Read the Comments +