")


I remember being so frustrated with the lack of sharpness in my images when I started my photography journey. They were either blurry, out of focus, or just soft. I envied photographers with tack-sharp images, like… where you could see every eyelash distinctly. (Lol!) So, I’ve compiled a list of my top 5 tips for sharper photos.
As photographers, it’s preeetty dang important that the photos we deliver to our clients are all sharp. (I mean, that’s what we’re being paid for, right!?) It truly baffles me when I see photographers charging people that aren’t delivering sharp photos. That’s like, step #1 to learning your craft- and if that’s the case, I honestly don’t believe you should be taking people’s money. (But… that’s another rant in itself!)
If you’re basically like this right now ? and stuck in blurry photo-ville, don’t worry! We’re boutta getchu OUT so you can feel good about the work you’re creating and delivering. So… 5 tips for sharper photos? Comin’ right up! ?

Getting tack-sharp photos isn’t just dependent on one or two factors, it takes a village (of camera settings, that is) to be able to nail ‘em. Here’s the sharp photo cocktail I use every single time to ensure I’m taking, and delivering, the best photos possible. ??
Top 5 Tips for Sharper Photos:
1. Back-button focus
2. Manually Selecting Focal Points
3. Auto-focus > Manual focus
4. Manual Settings that Matter
5. Your Gear Matters
1. Back-button focus
Some people get overwhelmed when they hear this term, but honestly- it’s super easy to set up and get used to! What back-button focus does, is it allows you to assign the focusing mechanism to a button on the back of your camera, instead of using the half-press shutter feature. Therefore, your index fingers’ only job is to press the shutter, and your thumb does the focusing. They each have ONE distinct job.
Why use it?
Well, it helps you to lock in your focus while being able to simultaneously shoot continuously. That means your focus will actually stay on what you intend it to, without it accidentally slipping off and causing a blurry shot because you pressed the shutter a bit too early, or late. (This is especially helpful when you’re shooting a moving subject!) There’s a ton of reasons I personally believe BBF is better… and you’ll find them out when you switch! 😉
Confused on how to set up BBF on your camera, or see if it’s even an option for you? Google “how to set up back button focus on a ‘insert camera model here’! 🙂
2. Manually selecting focal points
If you don’t tell your camera exactly where to focus, it’ll tell you. (And most of the time, it ain’t right, friend!) ?
Each camera has a different number of optional focusing points to choose from, (for instance, mine has 61 different focusing points, but some don’t have as many!) Regardless of how many you have, use them. These lil’ babies are a huuuge contributor to getting sharp photos, BUT you’ve gotta make sure they’re placed on the right spot.
For instance, if I’m shooting a close-up portrait, I’m always going to make sure the focal point is set on the eye that’s CLOSEST to the camera. Always. (Focus should 99.9% of the time be on the eyes if you’re shooting portraits.) Focus has a tendency to fall back; which is fine, because as long as you’ve got the eye closest to the camera tack sharp – you’re good.
In order to manually select your focal points, you’ll want to set your camera to single point focus mode!
The easiest way to figure out how to set yours up is to Google “how to set up focus point selection on a (insert your camera model here)”.
3. Auto focus > Manual focus
I’ve noticed some photographers get auto-focus and manual-focus confused with shooting in auto or shooting in manual. Those are all completely different things! I shoot in manual mode, but I shoot in auto-focus. Auto-focus means you’re allowing the camera to do the focusing, vs. manually turning the dial on your lens to focus. Manual mode means you’re setting all the settings up manually inside your camera (like ISO, aperture, shutter speed,) instead of letting the camera decide them for you like you would in auto mode.
My sharp photo cocktail? Manual mode on your camera + auto-focus on your lens! ??
4. Manual settings matter
Several factors in your settings will determine the sharpness of your photos! You’ve gotta make sure you have the correct ISO, Aperture, and Shutter Speed set.
I go into much more depth on these settings and how they truly work in my blog post on The 4 Settings I Set Up First In Camera, but here are a few quick tips:
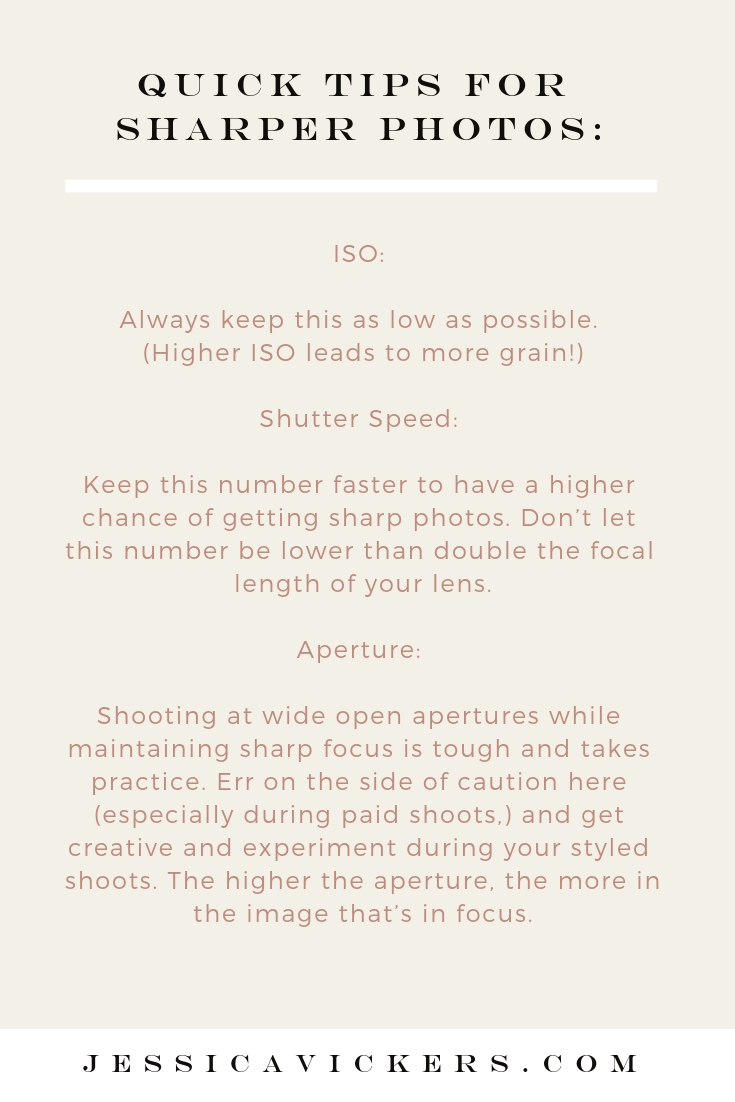
ISO: Always keep this as low as possible. (Higher ISO leads to more grain!)
Shutter Speed: Keep this number faster to have a higher chance of getting sharp photos. Don’t let this number be lower than double the focal length of your lens. If you’re shooting on a 50mm lens, don’t let your shutter speed be slower than 1/125 (when shooting hand-held.)
Aperture: Shooting at wide open apertures while maintaining sharp focus is tough and takes practice. Err on the side of caution here (especially during paid shoots,) and get creative and experiment during your styled shoots. The higher the aperture, the more in the image that’s in focus.
4. Your Gear Matters
Some cameras are simply just gonna be better than others, and the same goes for lenses. The more you pay for a lens, the better it’ll be.
Simply put; you get whatcha pay for.
When you’re buying a lens you’re paying for the glass, and the higher the glass quality- the better shots it’ll take. For cameras, you’re paying for megapixels, capability, greater performance in low-light scenarios, etc. So, with more expensive cameras you’ll have better quality images.
So what I’m saying is, if you’re shooting with a rebel and a kit lens and are wondering why even though you’re shooting in manual and doing all the “things” right – your images still aren’t what you envision… don’t beat yourself up. It’s likely your gear holding you back. So… time to upgrade! ???
If you need help building, growing, and/or systemizing your photography business, totally reach out and book a free strategy call with me. Helping you flourish is what I do best. 😉

If ya liked this little gem, you’ll LOVE this guide on how to create a photography business with zero competition. (Cause that’s what we all want, right!?)
Wanna stick around and stay learnin’? I knew I liked ya. ?
Feel free to binge on these blog posts, or pin ’em on Pinterest for later! ??
If you’re short on time, follow me on Pinterest – and you’ll get these kinda tips delivered straight to your feed! You know… when you’re scrollin’ through Pinterest with coffee in hand, ready to take on the day… or, procrastinate.
Whatevs. Pinterest biz sesh, anybody!? ??


Read the Comments +